Outlook for 365
Our normal business hours are Monday - Friday 9am - 5pm EST.
If you have a true business emergency related to your website after our normal business hours; please email urgent@legendwebworks.com.
Microsoft Outlook for Office 365 on Windows (POP & SMTP over SSL)
To configure the Outlook App to receive email with the POP protocol over SSL, please follow the steps below. Please replace:
username@example.com with your email address
example.com with your domain name
your_server.com with your server's host name
1. Open the Outlook App.
2. Choose "File" -> "Add Account".
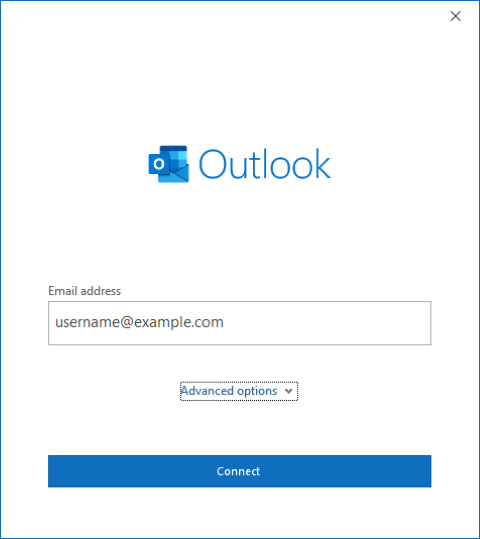
3. Enter your email address. Click "Connect".
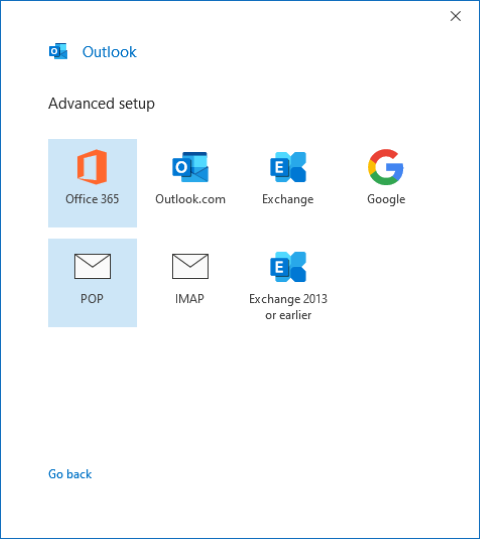
4. Click on "POP".
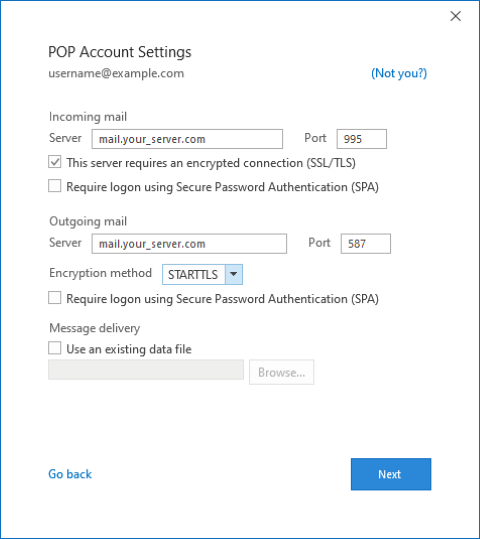
5. Use the following settings:
Incoming mail
Server: mail.your_server.com
Port: 995
Enable "This server requires an encrypted connection (SSL/TLS)"
Do not enable "Require logon using Secure Password Authentication (SPA)".
Outgoing mail
Server: mail.your_server.com
Port: 587
Encryption method: STARTTLS
Do not enable "Require logon using Secure Password Authentication (SPA)".
6. Enter your mail password. Click "Connect".

7. The "Account successfully added" screen should show up. Click "Done".

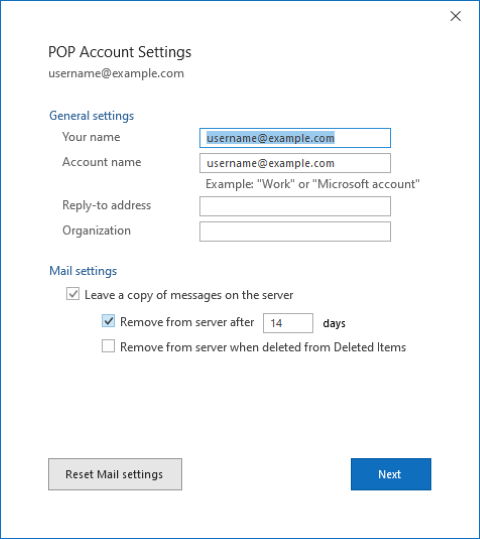
8. By default, Outlook will leave a copy of the messages on the server for 14 days. This can be adjusted via File -> username@example.com -> "Account Settings" -> "Account Name and Sync Settings".
Microsoft Outlook for Office 365 on Windows (IMAP & SMTP over SSL)
To configure the Outlook App to receive email with the IMAP protocol over SSL, please follow the steps below. Please replace:
username@example.com with your email address
example.com with your domain name
your_server.com with your server's host name (you can find your server's host name listed in the upper left corner of your Control Panel)
1. Open the Outlook App.
2. Choose "File" -> "Add Account".
3. Enter your email address. Click "Connect".

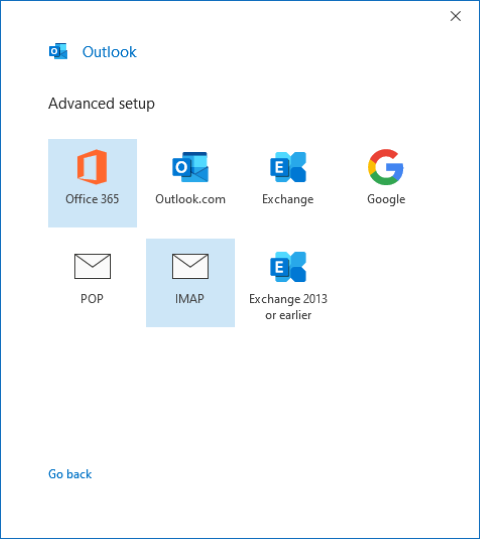
4. Click on "IMAP".
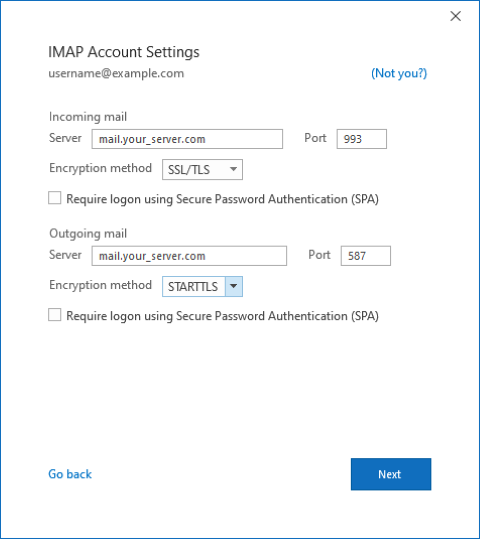
5. Use the following settings:
Incoming mail
Server: mail.your_server.com
Port: 993
Encryption method: SSL/TLS
Outgoing mail
Server: mail.your_server.com
Port: 587
Encryption method: STARTTLS
Do not enable "Require logon using Secure Password Authentication (SPA)".
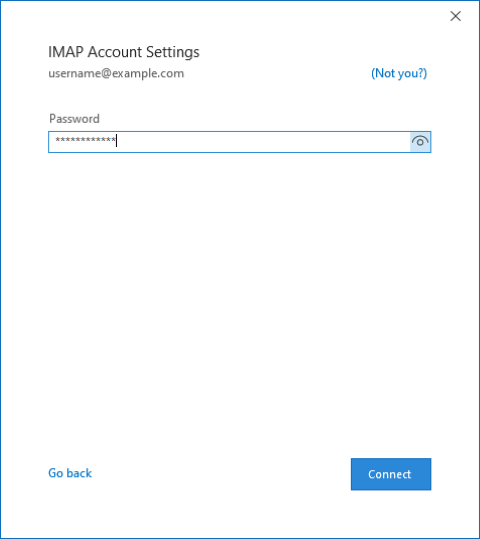
6. Enter your mail password. Click "Connect".
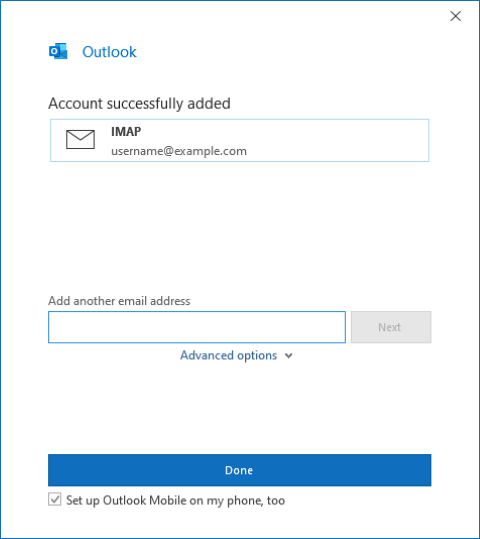
7. The "Account successfully added" screen should show up. Click "Done".
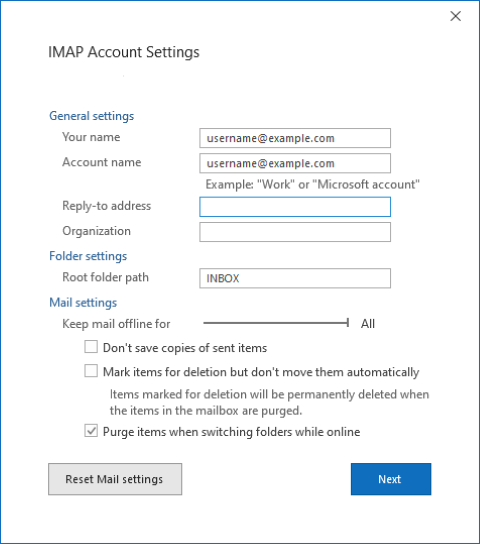
8. Go to File -> username@example.com -> "Account Settings" -> "Account Name and Sync Settings". In the "Root folder path" field, enter INBOX as on the following screenshot. Click Next. Click Done.
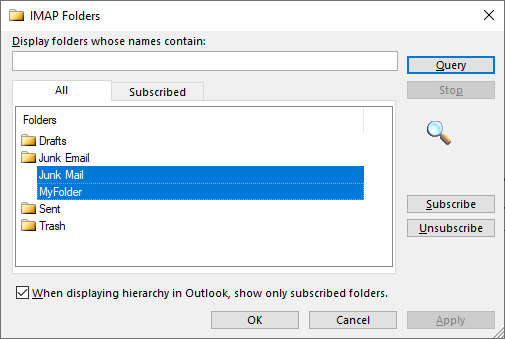
9. If you do not see all your mail folders, right-click on Inbox in the left Navigation Pane, and choose "IMAP Folders...". Click the Query button. Select the missing folders, and click Subscribe. Click OK to close the dialog.
Legend Web Works provides cloud based email (webmail).
We are not an IT Company and not qualified to set up or troubleshoot your third party software settings or functionality. Please work with the person in charge of IT for your company to configure your devices properly.
If you do not have an in house IT provider we recommend these IT Companies:
ProSource
800.842.7636
OR
Ryan Professional Services, LLC
513.399.7387